



What causes fitment issues with replacement Benz radiators
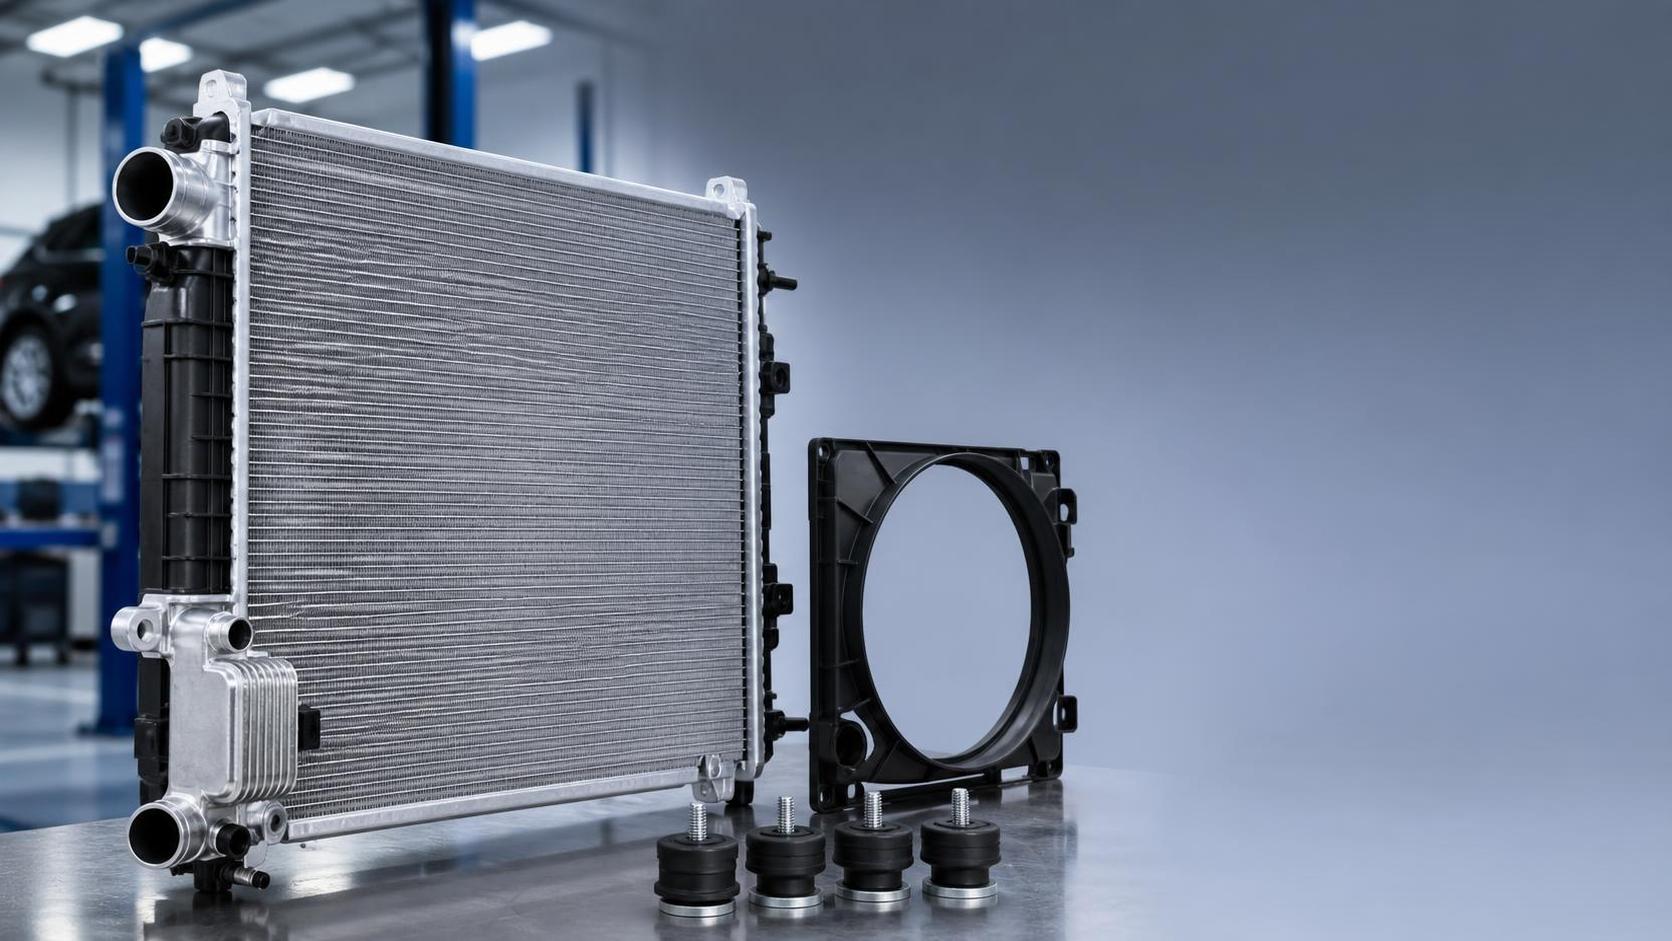
A replacement radiator can look correct when it arrives at the workshop: similar tank shape, familiar hose locations, and a core that appears close in size. The problem often becomes visible only after the old unit is out. A lower mounting pin will not seat, the fan shroud sits under tension, a hose reaches at an awkward angle, or the transmission cooler line has nowhere to connect. At that point, the vehicle is occupying a bay, coolant has been drained, and installation time starts turning into diagnosis time.
Fitment issues with Benz radiators are frustrating because a part can be “almost right” in several ways while still being unsuitable for the vehicle. For a cooling system, almost right is not enough. A radiator that has been forced into position may rub against the fan, load the plastic tanks, kink a hose, or place stress on a quick connector. Even if it holds coolant during the first pressure test, movement, heat cycles, and engine vibration can reveal the mismatch later.
The first mistake: matching only by overall appearance
Many fitment problems begin with a visual comparison. The removed radiator is placed beside the replacement, and the decision is made based on core width, height, and the approximate position of the inlet and outlet. Those details matter, but they are only part of the specification.
Within a single vehicle family, radiator arrangements may change according to engine version, transmission type, air-conditioning package, towing or heavy-duty cooling package, fan design, sensor layout, and model-year revisions. The grille, front panel, and engine bay can look very similar across those versions. The radiator, however, may use a different thickness, mounting geometry, integrated cooler, or connection style.
A common situation is that the replacement core has the same face dimensions but is thicker or thinner than the original. A thicker core can reduce clearance between the radiator and mechanical fan, electric fan module, intercooler, or condenser. A thinner core may leave the shroud unable to seal properly around the core. The vehicle may still run, but airflow can bypass the cooling surface instead of being pulled through it.
Before removing the original unit, record more than its general shape. Note the part number if it remains readable, the vehicle identification information used by the parts system, core dimensions, tank depth, hose neck orientation, and every auxiliary port. A few minutes spent documenting the installed unit can prevent a long delay once the system is open.
Mounting points are often the real source of trouble
Radiators do not simply hang from their hoses. Their lower pins, upper brackets, side tabs, locating bushes, and shroud clips keep the assembly aligned with the front-end module. When any of these features differ, the installer may be tempted to bend a bracket, enlarge a hole, transfer an old mount, or tighten fasteners until the part appears to fit.
That approach can create a delayed failure. Plastic radiator tanks are not designed to compensate for incorrect body alignment. If one lower pin is sitting on the edge of its rubber isolator rather than inside it, the radiator can twist when the upper support is tightened. The tank seam, hose neck, or cooler connection may then carry load that should have been absorbed by the mounts.
Start by inspecting the lower supports before bringing the new radiator into position. Old rubber bushes can remain inside the carrier, split during removal, or stick to the pins of the original radiator. A missing or doubled isolator changes radiator height and can make a correct replacement appear incorrect. Dirt, fragments of plastic, and corrosion around the support pockets can also prevent full seating.
With the radiator loosely positioned, confirm that both lower points sit naturally in their supports. Do not install the upper brackets first and pull the lower pins into place afterward. Once the lower location is correct, check whether the upper supports meet the radiator without force. If a bracket must be pushed sideways or downward to line up, stop and compare the mounting features rather than relying on fasteners to correct the mismatch.
Hose connections can match in diameter but still be wrong
Upper and lower hose necks are among the quickest features to compare, yet diameter alone does not confirm compatibility. The angle of the neck, its length, retaining bead, quick-connect groove, and relation to nearby components all affect installation.
For example, a lower outlet that points only slightly differently may cause the hose to touch an undertray, pulley area, frame member, or charge-air pipe. A hose can be installed without visible kinking while still being held in a permanent twist. Over time, that twist can weaken the hose, loosen a clamp position, or prevent a quick connector from locking completely.
When the original radiator is still available, place it next to the replacement on a flat surface and compare the hose necks from several angles. Do not rely on looking down from above. Check the centerline direction and distance from the mounting plane. Then inspect the hose itself. A distorted, swollen, or incorrectly routed old hose can mislead the installer into assuming the new radiator has the wrong outlet position.
Quick-connect fittings deserve extra attention. The connector should slide on in line with the neck and lock without excessive force. If the clip does not engage smoothly, do not use a tool to force it home. Check whether the replacement radiator has the correct groove profile and whether the connector seal is in the proper position. A connector that feels secure before coolant is added may leak once pressure and temperature rise.
Integrated transmission coolers and extra ports change the specification
Some replacement decisions fail because the main coolant circuit is treated as the only requirement. Depending on the application, the radiator may also include provisions for transmission-fluid cooling, an auxiliary coolant circuit, drain configuration, temperature sensor ports, bleed connections, or other integrated features.
A radiator without the necessary cooler connections cannot be made equivalent by simply capping unused lines or attempting a hose conversion. Conversely, a radiator with extra ports is not automatically interchangeable with a simpler version. The position, thread, sealing arrangement, and internal configuration must correspond to the vehicle’s design.
Before ordering, identify every line connected to the original assembly. Trace each line rather than guessing from its location. Transmission cooler lines can be mistaken for coolant hoses, while small-diameter hoses may belong to a degas or return circuit. Photograph the connections before removal, including clips and retaining brackets. This is especially useful when the original radiator is damaged and markings cannot be read after disassembly.
If the replacement includes a port that is not present on the removed unit, verify the catalogued application rather than assuming it is a harmless variation. The same caution applies when a required fitting is absent. A correct-looking core cannot compensate for an incorrect fluid-routing arrangement.
Dimensions need context, not just a tape measure
Core size is useful for narrowing down a radiator, but it is not a complete fitment reference. Measurements should be taken consistently: core height and width, core thickness, overall width including side tanks, total height including mounting pins, and the depth of upper and lower tank sections. A radiator may have a similar core but use tanks that extend farther into the available space.
It also helps to distinguish between a core dimension and an overall assembly dimension. A listed size such as 642 × 558 × 40 mm describes the cooling core, not necessarily the exact outside measurement of the assembled radiator. When cross-referencing units for different vehicle applications, this distinction prevents false matches.
For instance, XD640 RADIATOR FOR IVECO, model 504289350, is specified with a 642 × 558 × 40 mm core for Iveco applications. Those dimensions may be useful as a reference format when comparing core data, but they should never be used as a reason to substitute an Iveco radiator into a Benz application. Matching dimensions do not override mounting, hose, cooler, and vehicle-specific configuration requirements.
A practical way to isolate the mismatch before installation
When a replacement does not immediately settle into place, avoid making modifications until the difference is identified. Put the old and new radiators side by side and work from fixed reference points rather than from flexible hoses or removable brackets.
- Compare the lower locating pins. Check spacing, diameter, pin length, and the distance from each pin to the core edge. Inspect the vehicle’s rubber isolators at the same time.
- Compare the upper attachment features. Look at bracket tabs, clip locations, bolt-hole direction, and any guide channels for the fan shroud.
- Examine tank shape and total thickness. Pay attention to corners where the condenser, shroud, headlamp supports, or intercooler pipes pass nearby.
- Map every coolant and auxiliary connection. Include large hoses, small return lines, drains, sensors, and cooler fittings. Confirm position as well as size.
- Inspect airflow-related interfaces. A radiator may fit the carrier but still be incompatible with the fan shroud or sealing panels.
This comparison usually identifies whether the issue is a wrong part, a missing transferred component, damaged vehicle-side mounting hardware, or an installation sequence problem. It is far more reliable than trying to judge fitment after hoses, fan modules, and upper supports have already been installed.
Catalog references can be incomplete without vehicle details
Part-number lookup is valuable, but it depends on the information supplied. A generic vehicle description may return several radiators that all appear plausible. Engine code, transmission arrangement, production variation, air-conditioning configuration, and original-equipment reference can separate those alternatives.
When contacting a Benz radiator supplier, provide the original radiator number where possible, vehicle identification details used for parts verification, engine and transmission information, and photos of both faces of the removed radiator. Include close views of the mounting points and ports, not only a full front image. These details allow the supplier to compare the actual configuration rather than making a recommendation based only on vehicle model naming.
It is also sensible to ask which identifying features distinguish the offered unit from nearby alternatives. A useful answer should refer to physical details such as mounting layout, core thickness, cooler fittings, or hose-neck orientation. If the description remains too general, continue verifying before opening the cooling system.
Do not ignore parts transferred from the old radiator
Some apparent fitment failures are caused by components that were not moved over from the original unit. Depending on the design, these may include rubber lower mounts, upper cushions, drain fittings, sensor switches, clips, brackets, seals, or fan-shroud guides. A new radiator may be supplied without items intended to be reused, while another version may have them preinstalled.
Transfer only components that are designed to be reused and are still in serviceable condition. A hardened seal, cracked rubber bush, distorted clip, or damaged sensor should not be carried over simply because it came from the original unit. Compare each transferred item with the new radiator’s connection and seating surface before installation.
Fan shroud alignment is particularly important. The shroud should locate into its designed channels and sit evenly against its seals. If it bows, leaves an obvious gap, or contacts the core, do not trim it to make it fit. The radiator version, shroud version, or mounting arrangement needs to be checked again.
Verifying the repair after the part fits
Correct fitment is not proven when the upper brackets can be tightened. Before refilling, look around the perimeter of the radiator for contact points, trapped wiring, hose tension, and loose support bushes. Confirm that the fan assembly turns freely where applicable and that no line rests against a sharp edge.
After the system is filled using the correct coolant and bleeding procedure for the vehicle, inspect all connections under the relevant pressure and temperature conditions. Watch for slow seepage at quick connectors, drain points, sensor ports, and integrated cooler fittings. Recheck hose routing after the engine has reached operating temperature because hoses can move as they soften and pressurize.
The most reliable way to prevent repeat fitment problems is to treat the radiator as a vehicle-specific assembly rather than a generic heat exchanger. Confirm the installed configuration before ordering, compare fixed mounting and connection features before forcing anything into place, and investigate every difference that remains. That process takes less time than correcting a leak or replacing a radiator that was never properly supported in the first place.