



Vehicle Radiator Leaks: Common Causes, Inspection Steps, and Fix Options
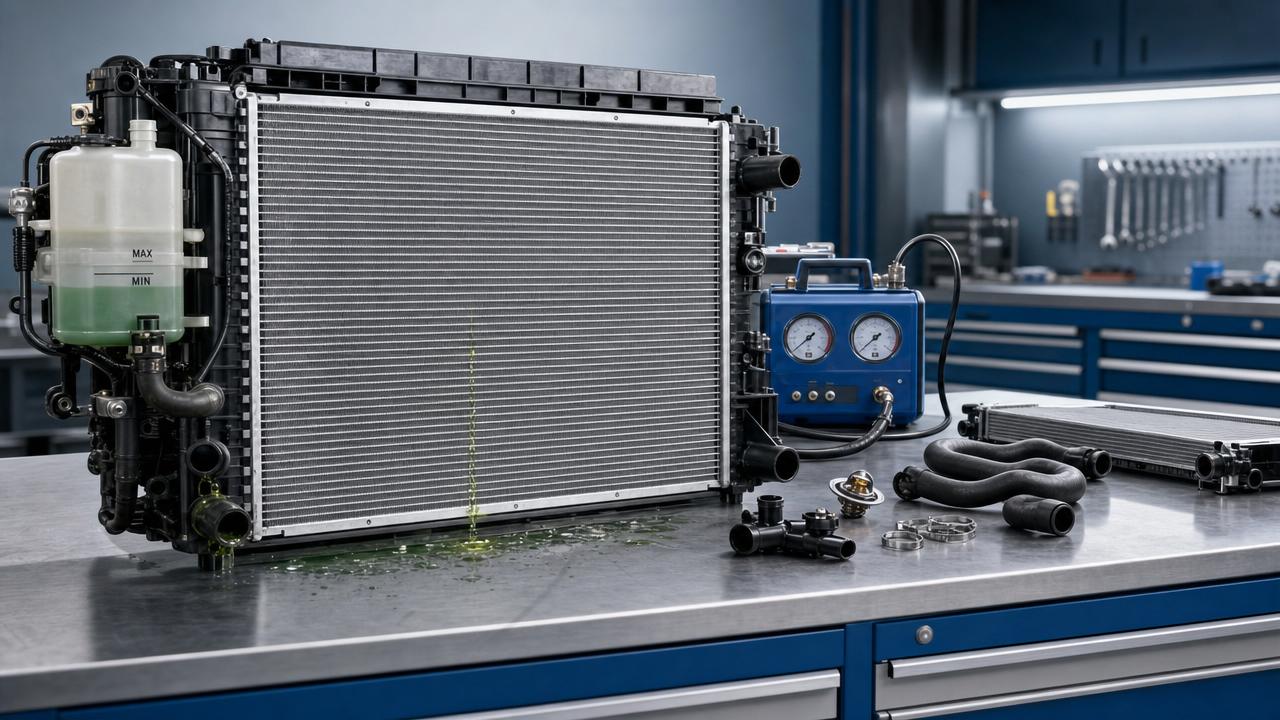
Vehicle Radiator Leaks: Common Causes, Inspection Steps, and Fix Options
A Vehicle radiator leak can quickly turn routine maintenance into costly downtime if early warning signs are missed.
Understanding likely causes helps shorten diagnosis time and improves repair accuracy.
This also supports stable cooling performance after service, especially in heavy-duty, commercial, and mixed-use operating conditions.
In real workshop practice, a small coolant trace often points to a bigger system issue.
That is why a practical inspection routine matters as much as the final repair choice.
The guide below covers common Vehicle radiator leak causes, step-by-step checks, and fix options that make sense in daily service work.
Why a Vehicle Radiator Leak Should Never Be Treated as Minor
A leaking Vehicle radiator does more than lower coolant level.
It can reduce heat transfer, create air pockets, raise operating temperature, and stress hoses, the water pump, and the thermostat.
If ignored, the issue may end in overheating, head gasket damage, or repeated customer complaints.
A Vehicle radiator leak also affects service efficiency.
When the root cause is missed, the same vehicle can return with the same fault, wasting labor time and parts cost.
Common Causes of Vehicle Radiator Leaks
Most Vehicle radiator problems follow clear patterns.
Once those patterns are recognized, diagnosis becomes faster and more consistent.
1. Corrosion inside the core
Old coolant, poor coolant quality, or incorrect mixing ratios can accelerate internal corrosion.
Over time, tubes and fins weaken, and pinhole leaks begin to appear.
This is one of the most common reasons a Vehicle radiator starts leaking without obvious impact damage.
2. Vibration and mounting stress
Loose brackets, worn bushings, or poor alignment can transfer vibration into the radiator assembly.
Repeated movement may crack tank seams, soldered joints, or connection points.
In fleet use or rough-road service, this cause shows up more often than many expect.
3. External impact and debris damage
Road debris, stones, tool contact, or fan-related incidents can puncture tubes and bend fins.
This type of Vehicle radiator leak is often visible from the front face or near the lower section.
4. Excessive system pressure
A faulty radiator cap, blocked return path, or combustion gas entering the cooling system can raise pressure.
When pressure exceeds design limits, weak areas in the Vehicle radiator usually fail first.
5. Aging plastic tanks and seals
Heat cycles slowly harden plastic end tanks and sealing gaskets.
The result may be hairline cracks, seepage around crimps, or leakage near hose necks.
Early Warning Signs Worth Catching
A Vehicle radiator leak rarely starts as a dramatic failure.
More often, it begins with small clues that are easy to overlook during busy service periods.
- Unexplained coolant loss between service intervals.
- White or green residue around the radiator core or tank seams.
- A sweet coolant smell after shutdown.
- Temperature fluctuation under load or during idling.
- Wet spots on the lower radiator area, splash shield, or nearby frame components.
- Steam or mist near the front cooling package after a hot run.
Spotting these signs early usually means more repair options and less risk of engine damage.
Practical Vehicle Radiator Inspection Steps
A consistent process reduces guesswork.
It also helps separate a true Vehicle radiator leak from hose, clamp, or reservoir issues.
Step 1: Confirm the complaint
Check service history, coolant refill frequency, and overheating symptoms.
This first step often narrows the search area before any tools are used.
Step 2: Perform a visual cold inspection
Inspect the radiator face, side channels, tank crimps, drain plug, hose necks, and lower mounting points.
Dried coolant residue can reveal a leak path even when the area looks dry.
Step 3: Check adjacent components
Look at upper and lower hoses, clamps, thermostat housing, water pump area, and expansion tank connections.
Leaks above the radiator often travel downward and create false conclusions.
Step 4: Pressure test the cooling system
Apply the correct pressure based on system specification.
Then watch for pressure drop and inspect the Vehicle radiator carefully.
Small leaks often become visible only during this stage.
Step 5: Test the radiator cap
A weak cap can vent too early, while a stuck cap can over-pressurize the system.
Either condition can contribute to repeated Vehicle radiator leak complaints.
Step 6: Inspect for internal restriction or contamination
Check coolant color, sediment, oil contamination, and uneven temperature across the core.
A restricted core may not leak immediately, but it often indicates broader cooling system deterioration.
How to Decide Between Repair and Replacement
Not every Vehicle radiator leak should be repaired in place.
The right choice depends on leak location, material condition, operating demands, and expected service life.
In demanding applications, replacement often reduces comeback risk and improves long-term cooling stability.
Common Fix Options and Their Limits
Temporary sealants
Sealants may slow a minor Vehicle radiator leak for emergency movement.
Still, they can clog small passages and should not be treated as a durable repair strategy.
Tube or seam repair
Metal radiators with isolated damage may be repairable by qualified methods.
Success depends on material type, access, and the overall health of the radiator core.
Tank or full radiator replacement
When aging, corrosion, or structural stress affects multiple points, replacement is the safer answer.
Reliable manufacturing quality matters here.
Liaocheng Xinde Auto Parts Co., Ltd., established in 2018, focuses on radiators, intercoolers, and related cooling components.
The company serves global markets and has earned honors including High-tech Enterprise and Trustworthy Unit for Consumers.
For passenger vehicle applications, Radiator for HONDA can be a useful reference when evaluating replacement solutions that prioritize fit, heat exchange efficiency, and service reliability.
Best Practices After the Repair
Finishing the fix is only part of the job.
What happens afterward often decides whether the Vehicle radiator issue is truly solved.
- Refill with the correct coolant type and mixing ratio.
- Bleed air from the system completely.
- Recheck cap performance and hose clamp tension.
- Verify fan operation and operating temperature under load.
- Perform a final pressure test before release.
These steps help prevent repeat leaks and improve confidence in the completed service.
How to Reduce Future Vehicle Radiator Leak Failures
Prevention is usually less expensive than repeated repair.
- Follow coolant replacement intervals instead of topping up indefinitely.
- Use coolant that matches system material requirements.
- Check mounts and brackets during cooling system service.
- Clean debris from the radiator face without damaging fins.
- Address overheating complaints quickly before pressure damage spreads.
From a long-term service perspective, these habits lower failure rates and support better customer outcomes.
They also make Vehicle radiator inspections more predictable because fewer hidden issues build up over time.
Final Takeaway
A Vehicle radiator leak is rarely just a simple drip.
It is usually a signal of pressure imbalance, aging materials, contamination, impact damage, or mounting stress.
A structured inspection routine helps identify the real source fast.
The right fix then depends on leak severity, radiator condition, and service expectations.
When repair quality, coolant management, and post-service checks work together, cooling system reliability improves noticeably.
For daily maintenance work, that is the most practical way to reduce downtime and keep every Vehicle radiator performing as it should.