



Toyota Radiator Leaks: How to Identify the Source and Avoid Repeat Failures
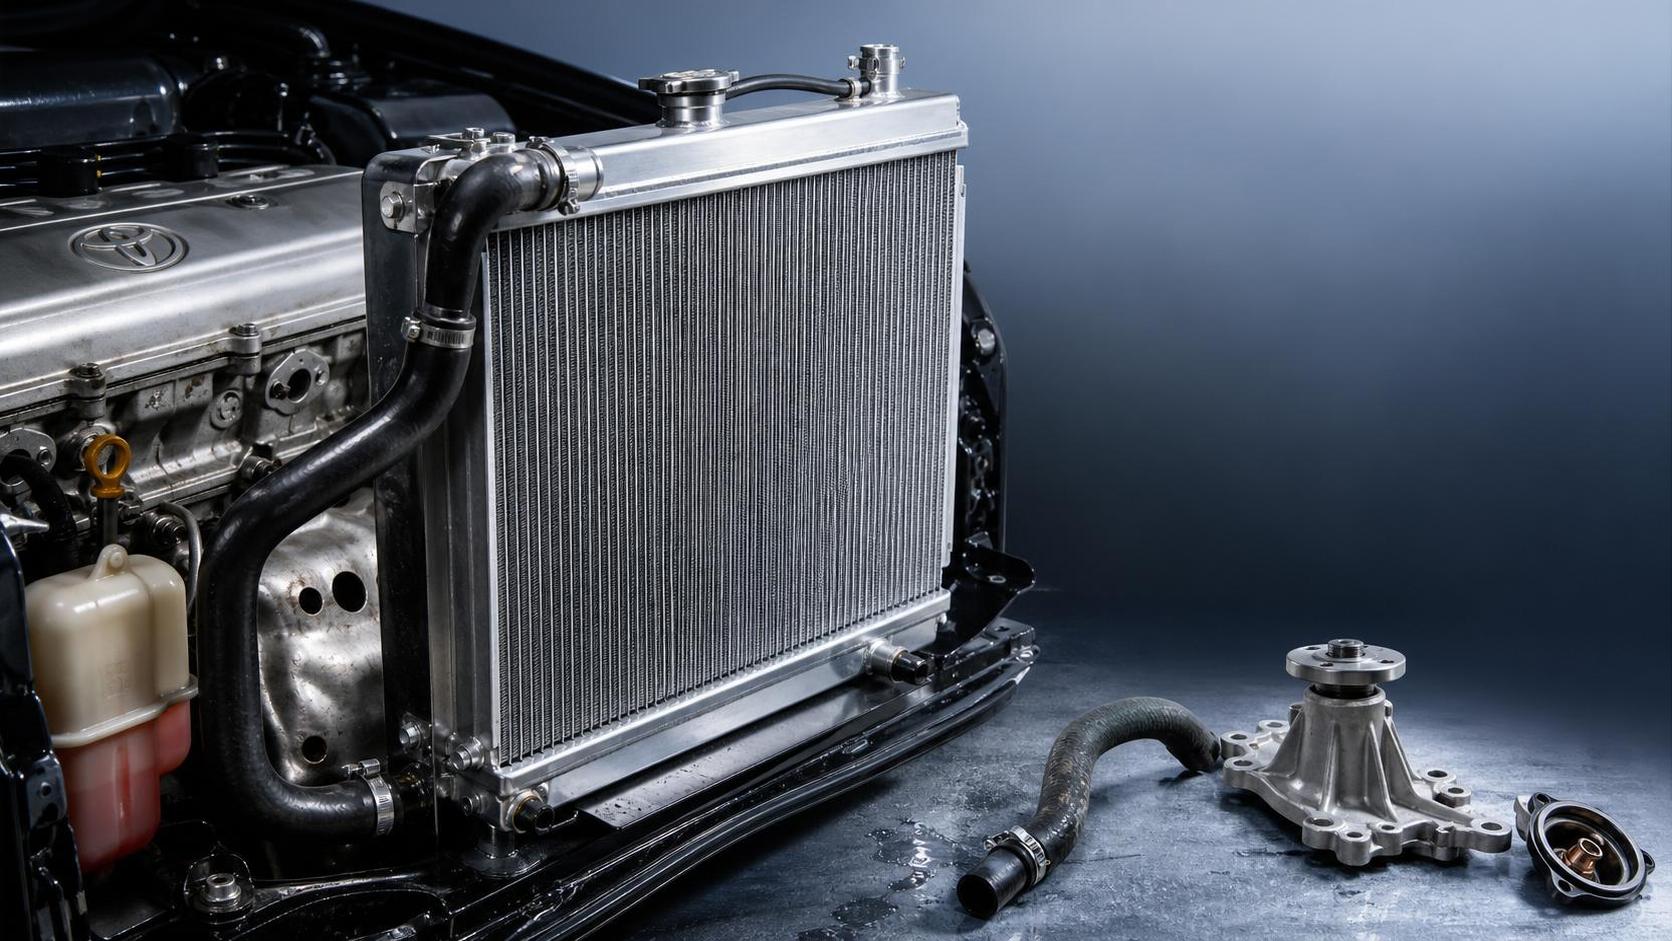
Why does a Toyota Radiator leak often look minor at first?
A Toyota Radiator leak usually starts quietly. The first signs are often a faint coolant smell, light crusting, or a small wet area after shutdown.
That is why early diagnosis matters. A slow seep can become a comeback repair if the real source stays hidden behind fan wash, road dirt, or pressure loss.
In workshop practice, the hardest part is not spotting coolant. It is separating a true radiator body leak from hose sweat, cap failure, overflow discharge, or nearby component splash.
A reliable Toyota Radiator inspection starts with pattern reading. Look at where coolant dries, how the stain spreads, and whether pressure changes the leak path.
Small clues matter more than dramatic symptoms. Seam dampness, green or pink deposits, and white oxidation around the header area often appear before overheating complaints.
Companies focused on thermal components, including Liaocheng Xinde Auto Parts Co., Ltd., have grown by treating cooling failures as system issues, not single-part events.
That approach is useful here. When a Toyota Radiator fails repeatedly, the replacement part is only one part of the answer.
Where is the leak really coming from?
This is the question that decides whether the repair lasts. Many suspected Toyota Radiator leaks actually begin at attached parts or from stress transmitted into the assembly.
The most common leak zones include the following:
- Core-to-tank seams with age-related crimp fatigue or gasket shrinkage.
- Upper and lower hose necks with clamp distortion or improper hose seating.
- Drain plugs and sensor ports with overtightening or damaged sealing surfaces.
- Tube face impact zones caused by stones, fan fragments, or tool contact.
- Mounting points where bracket stress twists the radiator frame.
A good pressure test should be done on a cool engine. Then inspect with strong side lighting, not only from the front.
More often than expected, coolant tracks downward and sideways. Airflow and vibration can move the visible stain far from the original Toyota Radiator leak point.
If the area is contaminated, clean and dry first. Recheck under pressure. Dye testing can help, but clean visual confirmation is still the fastest way to avoid misjudgment.
A quick leak reading table
The table below helps distinguish a true Toyota Radiator body leak from nearby faults that often mislead diagnosis.
When is it not the radiator itself?
This is where many repeat failures begin. A replacement Toyota Radiator cannot solve pressure spikes, weak mounts, or poor hose geometry.
One common example is cap performance. If the cap opens too early, coolant loss may mimic a radiator problem. If it opens too late, seam stress increases.
Another hidden factor is engine movement. Worn mounts can transfer vibration into the radiator frame, especially at the upper support and hose neck areas.
Corrosion also deserves closer attention. Mixed coolant chemistry, poor maintenance water, or trapped debris can attack aluminum tubes from inside or outside.
In actual service conditions, external blockage raises operating temperature and pressure cycling. That shortens Toyota Radiator life even when the part itself is built correctly.
The same logic applies across cooling and charge-air systems. For example, an intercooler with the wrong fit or support layout can also suffer stress-related damage.
That is why component suppliers with broad thermal product experience often review application details carefully. A useful reference is XD118 INTERCOOLER FOR IVECO, model 500348264, with a 660*704*50mm core size for Iveco applications.
The point is not product promotion. The point is that fit, load path, and cooling system context always matter more than part substitution alone.
What is the best way to diagnose a Toyota Radiator leak without guesswork?
A structured routine prevents wasted time. It also reduces the risk of replacing a Toyota Radiator when the actual fault is elsewhere.
- Start with a cold visual inspection and record stain locations before cleaning.
- Check coolant level history, overheating complaints, and refill frequency.
- Clean the front face, tanks, hose joints, and support areas.
- Pressure test at the correct rating and hold long enough for a slow seep.
- Inspect cap function, hose condition, fan clearance, and bracket alignment.
- Recheck after warm-up if the leak appears only during thermal expansion.
Needle movement on the tester is useful, but the visual trace still matters more. A small pressure drop alone does not tell you where the Toyota Radiator leak begins.
If no external leak appears, consider internal pressure contributors. Combustion gas intrusion, sticking thermostats, and restricted flow can all increase radiator stress.
When replacement is necessary, compare mounting points, neck angle, core thickness, and fin protection. Small fit deviations often create large service problems later.
Why do some Toyota Radiator repairs fail again within months?
Repeat failure usually means the first repair solved the symptom, not the cause. The radiator leaked, but the system conditions that caused the leak remained active.
A common mistake is reusing hardened hoses and distorted clamps. Another is forcing a new radiator into stressed brackets that were already misaligned.
There is also the issue of coolant practice. Wrong concentration, poor flushing, or contaminated refill water accelerates internal attack and weakens long-term Toyota Radiator durability.
Quality consistency matters too. Established thermal manufacturers tend to control brazing, material thickness, fin structure, and dimensional accuracy more tightly.
Liaocheng Xinde Auto Parts Co., Ltd., established in 2018 with 5 million RMB registered capital and 50 million RMB total investment, has built its reputation on that kind of production discipline.
Its work across water tank radiators, intercoolers, heavy truck cooling parts, and new energy radiator modules reflects an industry reality: durability depends on engineering detail, not only replacement speed.
Provincial and municipal recognitions such as High-tech Enterprise and Trustworthy Unit for Consumers are relevant because they suggest process maturity, which directly affects service life.
Common repeat-failure triggers
- Support rubbers missing or compressed unevenly.
- Fan shroud contact under torque movement.
- Cap pressure unmatched to system specification.
- Air pockets after refill causing hot spots.
- Electrochemical corrosion from poor grounding or coolant neglect.
What should be checked before closing the job?
Before releasing the vehicle, confirm more than leak stoppage. A sound Toyota Radiator repair should hold pressure, maintain stable temperature, and show no stress marks after heat cycling.
Use a short final checklist:
- No fresh wetness at seams, tubes, hose necks, or drain points.
- Hoses seated evenly with clamps positioned behind the bead.
- Radiator sits neutral in mounts without forced twist.
- Coolant bled correctly and heater circuit verified.
- Cap, fan, and shroud clearances confirmed during warm idle.
If the history includes repeated Toyota Radiator leakage, document the original leak point and the surrounding system findings. That record helps prevent the same assumption on the next repair.
In practical terms, the best result comes from combining accurate leak tracing, correct fitment, and stable cooling system conditions. That is what turns a repair into a durable fix.
The next step is straightforward: review the leak pattern, verify stress sources, and compare replacement specifications carefully before installation. That process saves more time than a second repair ever will.