



Mercedes Radiator Leak Causes and the Fastest Checks to Start With
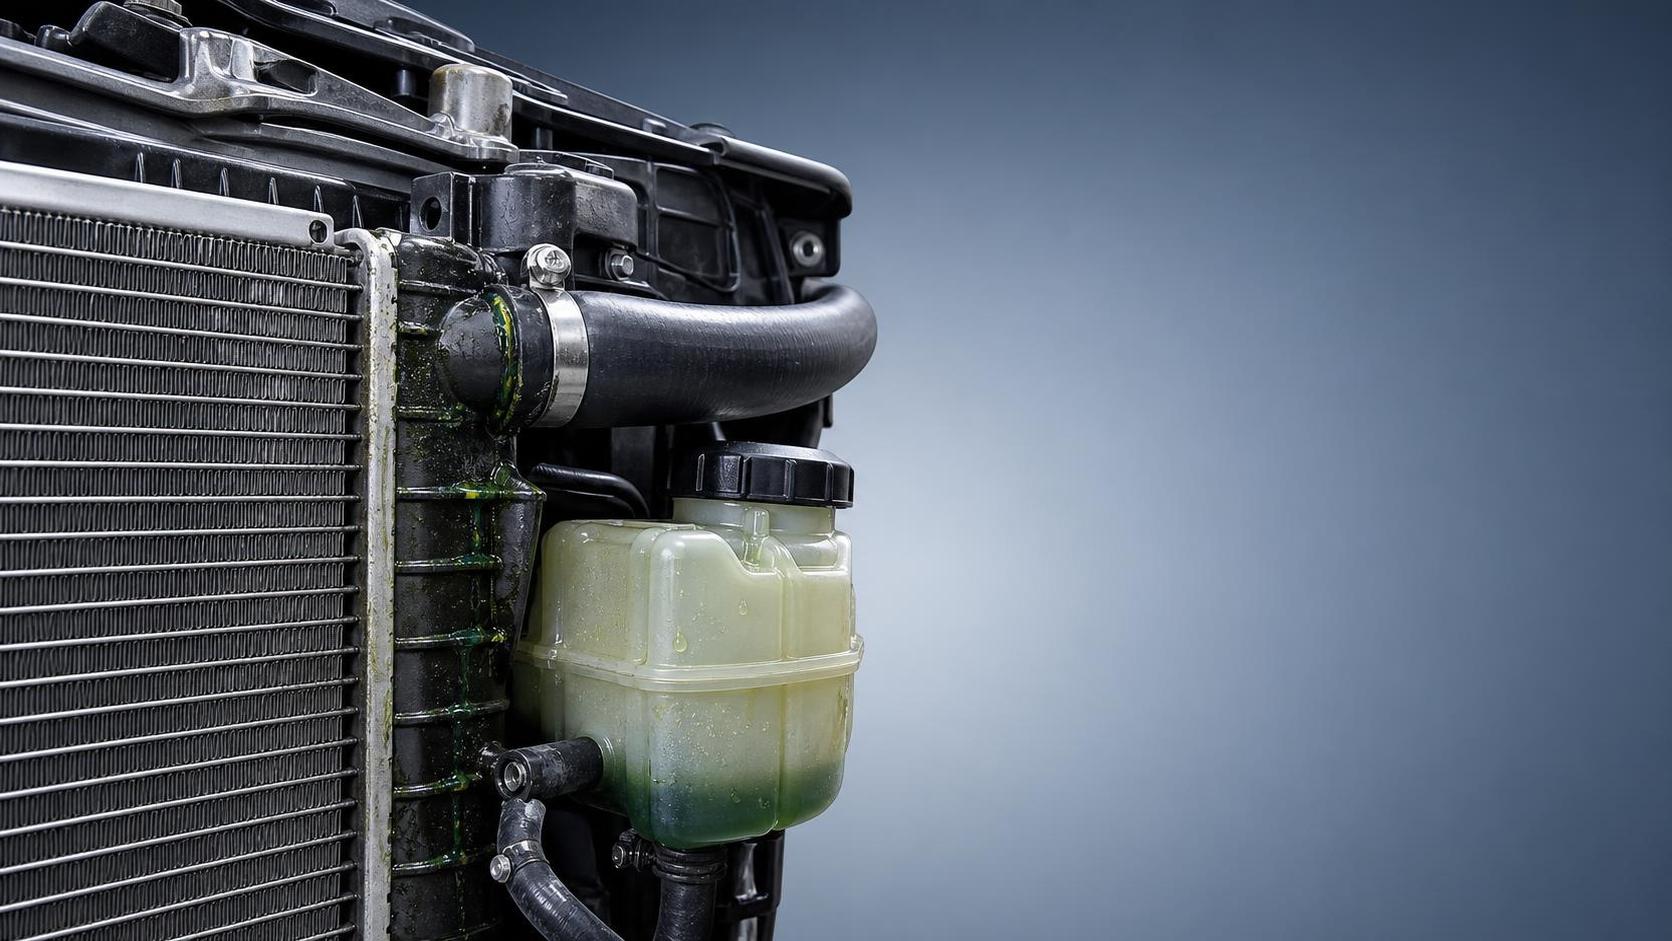
What should you check first when a Mercedes radiator is leaking?
Start with the quick checks that tell you whether the leak is active, pressurized, or just residual coolant from an earlier spill. On a Mercedes radiator job, the fastest useful sequence is: coolant level in the expansion tank, obvious hose and clamp wetness, staining around the radiator side tanks and core seams, and signs of spray on nearby components.
For aftermarket maintenance teams, this matters because a small leak can look worse than it is, while a pressure-related leak can stay hidden until the system gets hot. If the coolant level is low and you see fresh pink, blue, or yellow residue depending on coolant type, treat it as a live fault until proven otherwise. Dry white crust around the upper seam, lower outlet, or drain area usually means the system has been losing coolant over more than one heat cycle.
Before replacing parts, wipe the suspected area clean. A lot of misdiagnosis comes from chasing old coolant tracks. Once the surface is clean, run the engine to operating temperature or use a pressure tester if the vehicle is cool. That gives you a much clearer picture of where the Mercedes radiator leak actually starts.
Where does a Mercedes radiator usually leak from?
The most common leak points are not always the core itself. In real workshop conditions, leaks often show up at the plastic-to-aluminum crimp seam, upper or lower hose connections, the drain plug area, or the neck where the hose or cap interface sits. On older units, vibration, heat cycling, and repeated pressure changes can make these areas fail before the cooling fins look seriously damaged.
Another regular source is impact or rubbing damage. A radiator can leak because road debris pierced the core, or because a shroud, bracket, or hose rubbed through a tube over time. That kind of fault is easy to miss if the vehicle comes in with dirt and coolant mixed together along the front stack.
Do not overlook nearby components. Some leaks that look like a failed Mercedes radiator actually start at the expansion tank, a bleed point, a water outlet, or a hose above the radiator. Gravity does the rest and makes the radiator look guilty.
How do you tell whether the leak is from the radiator or from a hose above it?
Follow the highest wet point, not the biggest wet area. Coolant runs downward and spreads, so the lowest drip point is often misleading. If the upper hose connection, bleed line, or expansion tank hose is wet first, the radiator may be fine.
A practical workshop method is to clean the suspect area, add pressure to the cold system, and watch with a light. A hose leak usually forms around the clamp edge, hose end, or the fitting lip. A radiator seam leak tends to bead along the crimped joint or slowly sweat from one section of the side tank. A core leak usually produces a pinpoint wet spot across the fin area, sometimes followed by a fine mist when the engine is hot.
If everything looks dry cold but coolant smell returns after road testing, thermal expansion is part of the failure. In that case, inspect again right after shutdown while the system is still hot and pressurized, using proper safety procedure.
Are radiator seam leaks on Mercedes units usually repairable?
Sometimes, but usually not in a way that makes sense for reliable service. If the leak is at the crimp seam between the tank and core, the problem is often material fatigue, seal deterioration, or distortion from age and heat. Even if a temporary repair slows the leak, that area has already lost integrity.
For workshop decision-making, the better question is not “Can it be sealed today?” but “Will it hold through normal pressure cycles?” If the vehicle is expected to return to regular duty, seam leaks are strong candidates for radiator replacement rather than patch work. Spot repair may only buy a short window and can come back as an overheating complaint later.
If the leak is from a drain fitting or hose outlet, the answer changes. Those faults may be resolved by replacing the small failed part, correcting the clamp load, or renewing the hose.
What does coolant residue tell you before pressure testing?
Residue gives clues about leak age, direction, and severity. Fresh wet coolant points to an active fault. Chalky or crusted deposits usually mean slow loss over time. A fan-shaped spray pattern suggests the system leaked while under pressure with airflow moving coolant across the bay. Thick buildup at one fixed point often indicates a slow seep that has been evaporating there for a while.
Residue also helps separate two common scenarios:
- Pressure leak: wetness appears around seams, hose joints, or fine cracks once the system is loaded.
- Overflow or cap-related loss: staining is concentrated near the tank vent path or around the cap area rather than the radiator body.
That said, residue is only a guide. It helps you aim the inspection, but it does not replace pressure testing.
When is a pressure test the fastest route instead of more visual inspection?
Use a pressure test early when the coolant level is dropping but the leak is not obvious on first glance. It is also the quickest route when the front end is crowded, the radiator is partly shrouded, or the complaint only appears after heat soak. On many Mercedes cooling systems, a cold pressure test saves time because it removes fan airflow, glare, and hot-surface risk from the diagnosis.
The method is simple: pressurize the system to the correct service level for the vehicle, then watch for a pressure drop and inspect for seepage. Do not guess the target pressure. Use the vehicle service information or the cap rating as your reference point where appropriate. Over-pressurizing the system during testing can create a problem that was not there before.
If pressure holds steady and there is still a coolant-loss complaint, start thinking beyond the radiator itself: internal leaks, cap faults, intermittent hose leaks, or leaks that occur only at full operating temperature.
What common mistakes lead to the wrong diagnosis?
Three mistakes show up again and again in cooling system work.
- Assuming the radiator is failed because coolant is visible on it. Many upper leaks drain onto the radiator face or tank.
- Replacing a hose or clamp without checking the mating neck. If the outlet neck is cracked or warped, the new hose will still leak.
- Ignoring mount stress. A radiator that is twisted in its mounts or loaded by misaligned brackets may leak again even after replacement.
Another one is using sealant products too early. They can hide the leak path, contaminate the cooling system, and make later diagnosis harder. For a professional repair workflow, leak-stop chemicals are not a substitute for locating the actual failure point.
Can a small Mercedes radiator leak be left alone for a while?
Not safely in most service situations. A leak that looks minor in the bay can turn into a serious loss once the engine reaches full temperature and pressure. Mercedes cooling systems do not give much room for complacency; once coolant level drops far enough, overheating risk rises quickly, and the repair bill can escalate well beyond the radiator.
For an aftermarket technician, the right call depends on duty cycle and how fast the leak is progressing. If the vehicle is seeing daily mileage, stop-and-go traffic, towing, or high ambient temperature, even a slow radiator seep deserves prompt repair planning. Temporary top-offs only buy time, and only if the leak is monitored closely enough to avoid a low-coolant event.
What should be inspected before installing a replacement Mercedes radiator?
A replacement radiator should not go into a problem environment. Before installation, inspect the hoses, clamps, cap, mounts, rubber isolators, fan shroud fitment, and any bracket that can preload the radiator. Check that nothing has been rubbing the old core. If debris damage caused the leak, inspect the condenser and surrounding stack too.
This is also the point to confirm the replacement matches the vehicle application correctly. In practical terms, compare connection layout, mounting points, core dimensions, transmission cooler provision if applicable, and sensor or switch interfaces where used. A Mercedes radiator that is close but not exact can create hose stress, poor fit, or airflow issues.
After the repair, what proves the leak is actually fixed?
A proper confirmation is more than “it looks dry now.” Refill with the correct coolant mixture for the application, bleed the system as required, bring it to operating temperature, and check for stable temperature behavior, normal cabin heat output where relevant, and no fresh seepage under pressure. Then recheck after cooldown. Some leaks only show on the second cycle because seals settle once the system has expanded and contracted again.
Watch the coolant level trend, not just one snapshot. If the level remains stable and there is no new residue around the repaired area, the job is on the right track. If the temperature stays normal but the level still drops, the leak source was either missed or there is another fault outside the radiator.
What is the best rule of thumb for handling a suspected Mercedes radiator leak?
Find the highest origin point, confirm it under pressure, and inspect the surrounding hardware before blaming the radiator alone. That order saves time and avoids parts swapping. In day-to-day aftermarket work, the fastest checks are usually enough to separate a hose issue, seam failure, or secondary coolant leak. Once you know which of those three you are dealing with, the repair decision becomes much cleaner.