



How to Spot Low-Quality Brazing in a Honda Radiator Before Purchase
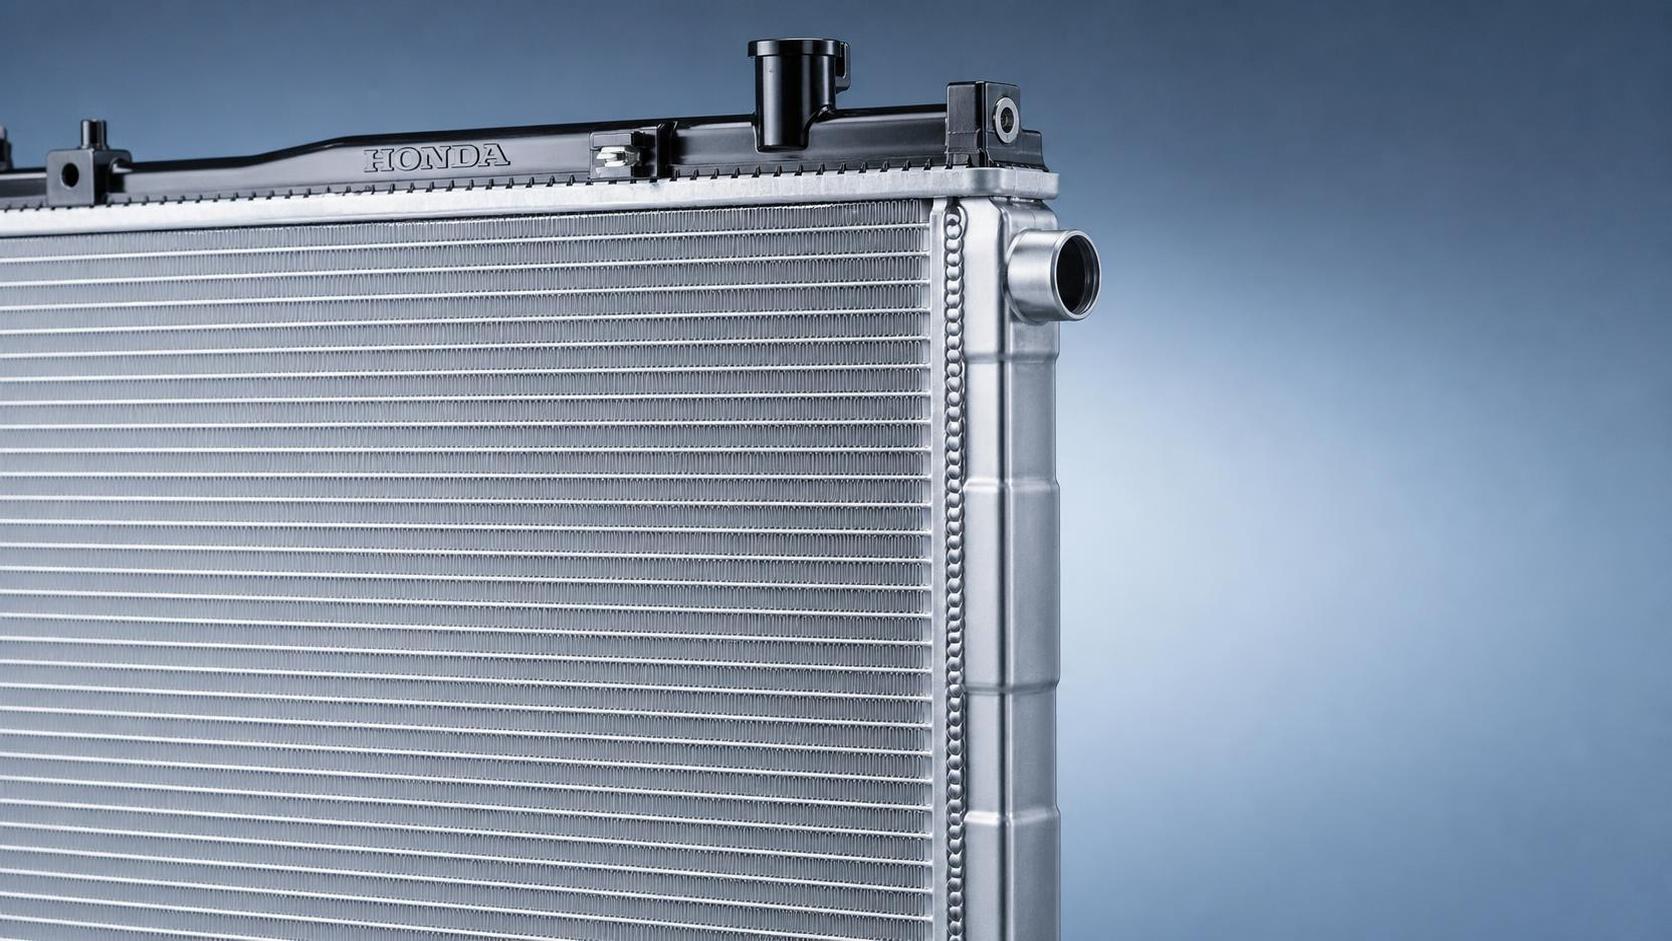
Why does brazing quality matter so much in a Honda radiator?
For a quality inspector or safety manager, poor brazing is not a cosmetic issue. It is one of the fastest ways a radiator turns into a leak source, a thermal weak point, or an early warranty problem. In a Honda radiator, brazed joints are responsible for sealing and bonding critical areas such as tube-to-header connections and other assembled sections that must stay stable under heat cycling, coolant pressure, and vibration.
When brazing is weak, the failure pattern is usually predictable: seepage starts at a joint, cooling efficiency drops, overheating risk rises, and the part may fail long before the rest of the cooling system does. That is why a pre-purchase inspection should focus less on surface shine and more on whether the brazed areas show consistent process control.
What does low-quality brazing usually look like before the radiator is even installed?
You can often spot trouble with a careful visual check. Low-quality brazing tends to leave visible clues, even on a new unit. The most common ones are uneven filler flow, patchy joint color, local burn marks, distorted fins near the joint area, and residue patterns that suggest unstable furnace conditions or poor pre-braze cleaning.
A good brazed Honda radiator does not need to look decorative, but it should look controlled. The joints should appear uniform from section to section. If one corner looks clean and tight while another shows excessive filler spread or rough edges, that inconsistency matters. Random variation often points to process drift, poor fixture control, or contamination during manufacturing.
Which visual signs are the most reliable red flags at the joint area?
Focus on the joint itself before looking anywhere else. These signs deserve immediate attention:
- Gaps or incomplete bonding lines: if the seam looks interrupted, dry, or partially open, capillary flow may have been incomplete.
- Heavy filler buildup in isolated spots: too much filler in one location can mean the joint fit-up was poor and the process compensated badly.
- Burned or darkened areas around the seam: discoloration by itself is not always a rejection point, but localized overheating around a joint can indicate process imbalance.
- Flux-like residue or surface contamination: a dirty finish near the bonded area may suggest poor cleaning, and contamination is a common reason for weak wetting.
- Visible pinholes or rough porous texture: this can be an early sign of voids or trapped contamination.
One caution here: a perfectly smooth outer appearance does not automatically mean the joint is sound. Some bad joints are neat on the outside. The real question is whether the visible evidence supports a stable brazing process, not whether the unit simply looks new.
Can fin alignment tell you anything about brazing quality?
Yes, more than many buyers expect. Fins do not only affect airflow; they also reveal whether the core went through the brazing cycle under good control. If the fins are crushed, warped, fused together in patches, or visibly misaligned near bonded zones, the core may have seen handling damage, excessive heat, or poor fixture support during assembly.
This matters because distortion around the fins often appears alongside weak metallurgical bonding elsewhere in the same batch. A radiator core that comes out straight, evenly spaced, and structurally stable usually reflects better process discipline. If the fins show random deformation, do not treat it as a separate cosmetic defect. It may be part of a larger brazing control problem.
How should surface color and finish be interpreted?
Surface consistency is useful, but it has to be read correctly. A uniform metallic finish across the core and joint areas generally suggests a stable thermal cycle and decent preparation. In contrast, blotchy appearance, streaking, sharp local discoloration, or obvious differences between one side of the radiator and the other can indicate uneven heating or contamination.
What you should not do is reject or approve based on color alone. Some finish variation can come from handling, packaging, or storage. The better approach is to compare color irregularities with joint condition, fin shape, and seam continuity. When all three look inconsistent, the risk is much higher.
What should be checked first during a receiving inspection of a Honda radiator?
If you need a practical sequence, use one that moves from broad signs of process control to local defect confirmation:
- Verify part identity, labeling, and packaging condition so you know the unit was not mixed, crushed, or exposed during transport.
- Scan the full core face for fin uniformity, bent zones, and signs of heat distortion.
- Inspect accessible brazed seams under angled light, not flat overhead light. Uneven seams show up more clearly that way.
- Check corners and transition areas where stress tends to concentrate.
- Look for residue, porosity, or abnormal filler accumulation.
- Compare several units from the same lot. A single defect can be isolated; repeating patterns usually point to a batch issue.
This kind of sequence works well for incoming quality control because it helps separate transport damage from manufacturing weakness.
Are there common mistakes buyers make when evaluating brazing quality?
The biggest mistake is trusting appearance that looks clean but not asking whether the manufacturing process was controlled. Another frequent error is checking only the front face of the radiator and ignoring corners, headers, and less visible seam areas. That is where poor bonding often shows first.
Some teams also over-focus on price and under-focus on repeatability. A low-cost radiator can pass a quick glance and still create a higher total risk if the lot has inconsistent brazing. For safety management, that matters because cooling system failure can turn into equipment downtime, field overheating, and avoidable incident exposure.
What documents or quality records are worth asking for before approval?
When visual inspection raises questions, documents help you judge whether the supplier is working from a controlled process or just shipping finished parts. You do not need vague promises. You need records tied to the lot or product type being purchased.
For technical buyers, the point is simple: if a supplier cannot connect the physical condition of the Honda radiator to a documented control process, the inspection risk goes up.
Is a pressure test enough to clear concerns about weak brazing?
No. A pressure test is valuable, but it is not the whole story. A radiator can pass an initial leak test and still have marginal brazed joints that fail after thermal cycling, vibration, or service stress. That is why visual evidence still matters before purchase.
Think of it this way: pressure testing tells you whether the unit leaks at the test condition. Joint appearance, seam consistency, and distortion clues tell you whether the manufacturing process is likely to hold up over time. For quality control, those are different questions.
When should a radiator be rejected outright, and when does it need escalation?
Immediate rejection makes sense when you find any of the following on a new Honda radiator:
- Open or visibly incomplete seams
- Pinholes, cracking, or obvious porous areas at bonded sections
- Severe fin distortion linked to heated zones or structural instability
- Repeating brazing defects across multiple units in one lot
Escalation is more appropriate when the signs are mixed: mild discoloration, isolated residue, or appearance differences that do not clearly indicate a failed joint. In that case, hold the lot, compare samples, review batch records, and decide whether additional leak testing or deeper supplier review is needed. The key is not to release uncertain material simply because the defect is hard to classify at first glance.
What is a practical approval standard if you need a fast buying decision?
Use a three-part rule. Approve only when the radiator shows consistent seams, stable core geometry, and supporting batch-level quality records. If one of those three is weak, the purchase decision should slow down. If two are weak, it should stop.
That standard is useful because it keeps the team from relying on a single signal. A clean-looking unit without process evidence is not enough. A document package without good physical condition is not enough either. For quality and safety teams, the best screening method is still the combination of direct visual judgment and traceable manufacturing control.
Before a Honda radiator enters stock, make sure the joint tells the same story as the paperwork. If the seam, the core, and the records do not line up, that is usually the answer.