



Why a new radiator core can still cause engine overheating
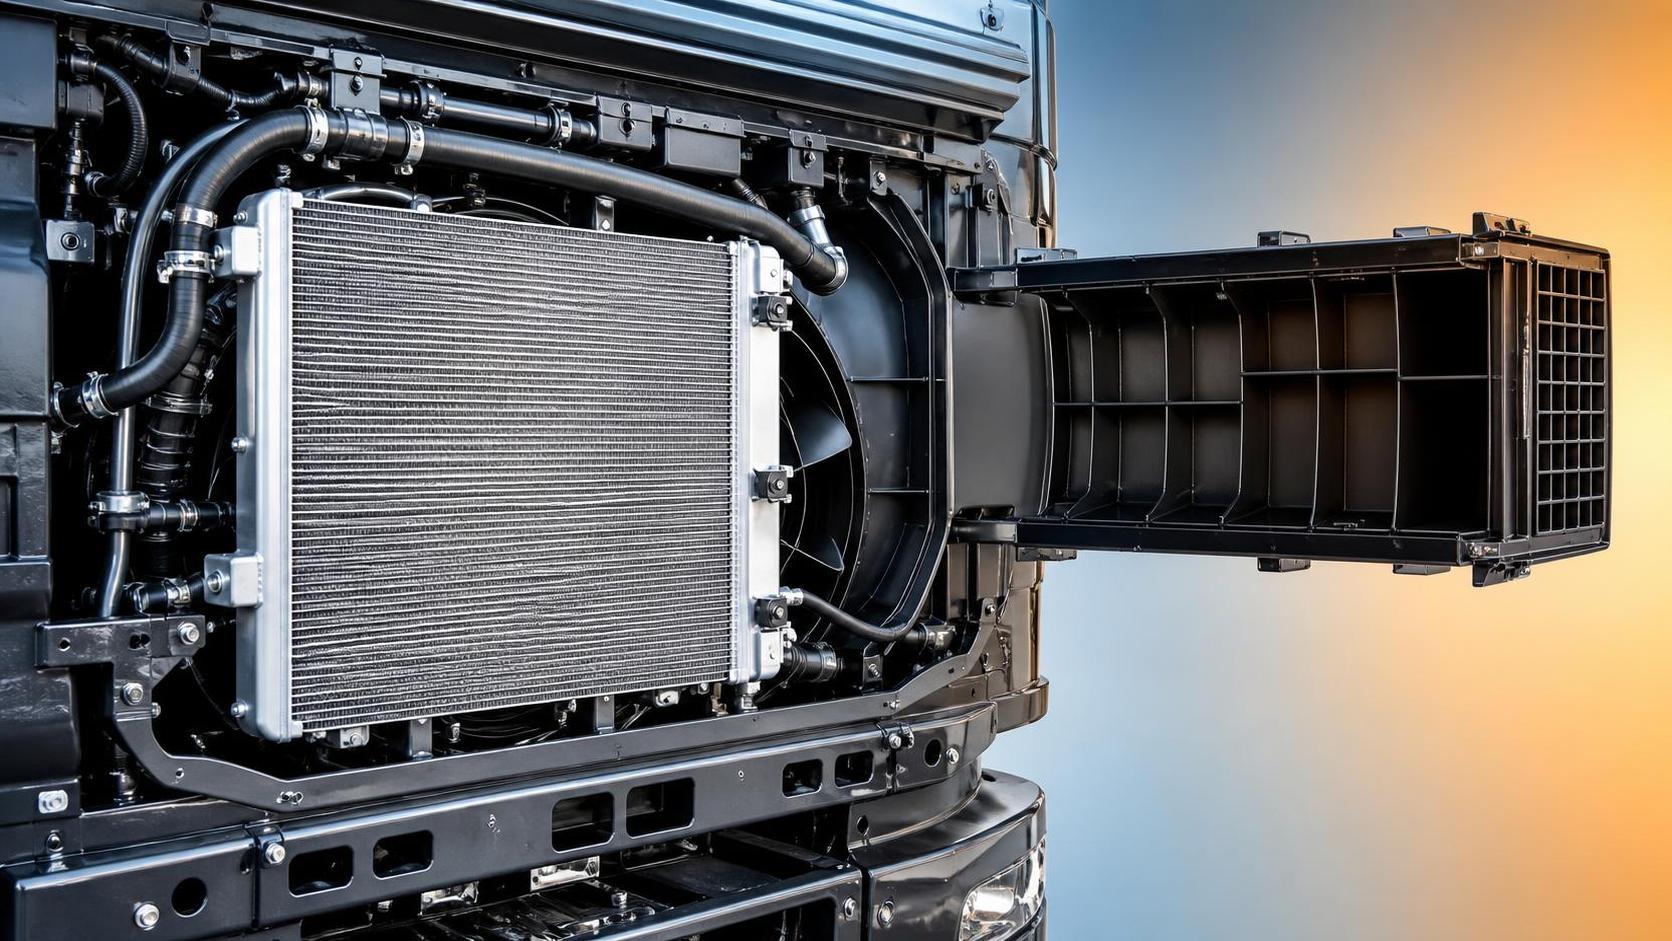
A replacement radiator core is often expected to end an overheating problem immediately. The old core was clogged, corroded, leaking, or physically damaged; the new one looks clean and has fresh fins, so the engine should run cooler. When the temperature gauge still climbs, operators can understandably suspect that the new part is defective.
In many cases, however, the radiator core is only one part of the cooling system. Heat must leave the engine, move through the coolant, pass efficiently through the core tubes and fins, and then be carried away by airflow. A problem at any point in that chain can keep an engine overheating even after a new core has been installed.
This matters especially for heavy trucks, construction equipment, and hard-working commercial vehicles. A brief temperature spike during a loaded climb, long idle period, or hot-weather shift can become expensive downtime if it is ignored. The practical question is not simply, “Is the new radiator core good?” It is, “Where is heat transfer failing now?”
Start by confirming what “overheating” really means
Before removing parts again, verify that the engine is actually running too hot. A faulty temperature sensor, loose connector, damaged wiring, or inaccurate dashboard gauge can create a misleading overheating warning. If the reading is doubtful, compare the gauge value with a scan-tool reading or a properly used infrared thermometer at relevant cooling-system locations.
Do this carefully. Never remove a radiator cap or expansion-tank cap from a hot, pressurized system. Let the engine cool fully before opening the cooling circuit. Hot coolant can cause serious burns, and a rushed inspection often creates more problems than it finds.
If the temperature is truly high, note when it happens. The operating pattern is a valuable clue:
- Overheating mainly at idle or in traffic: airflow, fan engagement, fan shroud, or condenser blockage is likely.
- Overheating at highway speed or under heavy load: coolant flow, radiator capacity, core fitment, thermostat operation, or combustion-related heat may be involved.
- Temperature rises quickly soon after startup: trapped air, a stuck thermostat, low coolant, or a circulation problem should be checked early.
- Temperature varies sharply between normal and hot: air pockets, intermittent fan operation, sensor issues, or a thermostat that sticks intermittently may be responsible.
These patterns do not replace diagnosis, but they prevent the common mistake of replacing another radiator before examining the rest of the system.
A new radiator core can fail to cool if coolant cannot reach it properly
A radiator core transfers heat only when hot coolant flows through its tubes at the right rate. Low coolant level is one of the most basic reasons a replacement does not solve overheating. Even a small coolant loss can leave the top of the core or cylinder-head passages inadequately supplied, especially when the engine is working hard.
After radiator service, trapped air is also common. Air does not carry heat as effectively as coolant, and an air pocket may stop circulation through the thermostat housing, heater circuit, or upper section of the radiator. Some systems require a specified filling procedure, bleed point, vacuum filling tool, or several warm-up and cool-down cycles. Simply filling the tank and starting the engine may not remove all air.
Watch for signs of air in the cooling system: gurgling behind the dashboard, an unstable temperature gauge, a heater that blows cold intermittently, or a coolant level that drops after the first drive. Recheck the level only when the engine is cold, then inspect hoses, clamps, the water pump area, and the radiator joints for seepage.
The thermostat may be the real restriction
A thermostat stuck partly closed can make a new radiator appear ineffective because hot coolant never reaches the core in sufficient volume. A thermostat installed in the wrong orientation can produce a similar result. On some engines, the bleed jiggle pin or vent must face a particular direction to release air correctly.
A basic field check is to observe hose temperatures as the engine warms, using suitable protective equipment and a non-contact thermometer where possible. With a properly operating thermostat, the upper radiator hose usually becomes hot as the thermostat opens. If the engine temperature rises well above normal while the hose remains relatively cool, coolant may not be reaching the radiator. This is not a final diagnosis by itself, but it points toward the thermostat, trapped air, or a circulation issue.
Do not overlook the water pump and hose condition
A worn water pump may leak, make noise, or fail without obvious external signs. Eroded impeller blades, a slipping drive belt, or internal pump damage can reduce coolant circulation. In equipment that works in dusty sites or sees long operating hours, this issue can develop gradually and only become obvious after a radiator replacement removes one older restriction.
Check lower radiator hoses as well. A weak hose can collapse at higher engine speed when suction increases, reducing flow just when the vehicle needs cooling most. The outer surface may look acceptable while the internal reinforcement has deteriorated. A missing internal spring, where the design requires one, can lead to the same symptom.
Airflow is just as important as the radiator core itself
It is easy to focus on coolant because it is visible when a radiator is being replaced. Yet the core cannot reject heat unless air passes through the fins. This is why an engine may stay cool while moving at road speed but overheat in queues, during loading, or while a machine idles on site.
Inspect the full front cooling stack, not only the radiator. Depending on the vehicle, airflow may pass through an air-conditioning condenser, charge-air cooler, oil cooler, protective screen, and radiator. Dirt, insects, mud, packaging debris, or bent fins in any layer can restrict air before it reaches the new core.
Cleaning should be done with care. Excessive high-pressure washing too close to the fins can flatten them and reduce airflow further. Clean from the appropriate side for the direction of contamination, use a suitable pressure level, and straighten damaged fins only with proper tools and patience. A clean-looking front surface does not prove that the spaces between stacked heat exchangers are clear.
Fan, shroud, and fan clutch checks
Mechanical fan clutches, electric fans, hydraulic fan drives, relays, fuses, control modules, and temperature switches can all cause overheating. A fan that turns is not necessarily producing enough airflow. It may rotate slowly, engage late, run in the wrong control condition, or operate only at one speed.
The fan shroud deserves attention too. It channels airflow through the radiator face. If it is missing, cracked, badly positioned, or left off during the radiator repair, the fan can pull air around the core instead of through it. At idle, that loss can be enough to push a normally loaded engine into the red zone.
For operators, a simple observation can be revealing: if temperature drops quickly once vehicle speed increases, inspect fan performance and the airflow path before assuming the radiator core has insufficient capacity.
Correct fitment is more than matching the overall dimensions
Not every radiator that appears to fit the mounting points provides the same cooling performance. Tube layout, fin density, core thickness, tank configuration, hose connection locations, transmission or oil cooler provisions, and airflow sealing can differ between applications. A core that is physically installed but does not match the engine’s heat load may struggle during hot weather, steep grades, towing, or continuous high-RPM work.
Part-number verification is therefore important, particularly for fleet vehicles with different engine variants. For a DAF application, for example, the XD807 RADIATOR FOR DAF is identified with model 1739550 and a core size of 1067 × 748 × 48 mm. Those details should be checked alongside the vehicle’s exact application, connections, mounting arrangement, and cooling-system specification rather than used as a visual match alone.
A related installation issue is poor sealing around the radiator. Foam seals, side baffles, lower guides, and air deflectors may seem minor, but they stop air from bypassing the core. Reusing damaged seals or omitting them after service can reduce effective airflow, particularly on trucks designed with tightly managed cooling packages.
The new core may be sound, but installation details can create a problem
Even a correctly specified radiator core can underperform if the system was not flushed appropriately. When an old radiator has failed internally, debris, old sealant, rust particles, or degraded coolant may remain in the engine block, heater circuit, hoses, and cooler lines. That material can move into the replacement unit and restrict narrow passages.
Using excessive stop-leak products is especially risky. These products may temporarily slow a leak, but they can also collect in radiator tubes, heater cores, thermostat passages, and water-pump areas. If a cooling system has been contaminated, a controlled flush using the vehicle manufacturer’s guidance is usually safer than adding more chemical sealant.
Coolant concentration matters as well. A mixture with too much antifreeze can transfer heat less effectively than the recommended blend, while too much water can reduce corrosion protection and boiling margin. Mixing incompatible coolant technologies may cause deposits or shorten component life. Use the coolant type and ratio specified for the engine, and make sure the system has been properly bled afterward.
Also inspect the radiator cap or expansion-tank cap. The cap maintains system pressure, which raises the coolant boiling point. A weak spring, damaged seal, or incorrect pressure rating can allow coolant to boil or escape too early. The radiator may be new, but it cannot compensate for a cap that no longer holds pressure.
When overheating continues, consider heat entering the coolant from the engine
Sometimes the cooling system is doing its job, but the engine is producing or transferring abnormal heat into the coolant. A failing head gasket, cracked cylinder head, combustion-gas leak, incorrect fuel timing, injector issue, restricted exhaust, or sustained overloading can all raise operating temperature.
Warning signs include unexplained coolant loss, persistent bubbles in the expansion tank, coolant pushed out of the overflow, hard upper hoses soon after a cold start, white exhaust smoke in some cases, or oil and coolant contamination. These symptoms require prompt professional diagnosis. Continuing to operate an overheating engine can warp components, damage cylinder liners, degrade lubricating oil, and turn a manageable repair into a major engine overhaul.
On heavy-duty vehicles, operating conditions should be reviewed honestly. A vehicle that overheats only with a full load, on steep gradients, or in very high ambient temperatures may have a cooling issue, but it may also be working beyond its intended duty cycle. Check for blocked intercoolers, dragging brakes, incorrect gearing use, poor engine calibration, or intake restrictions that increase thermal load.
A practical troubleshooting order for operators
When a new radiator core has been fitted and overheating remains, avoid replacing parts at random. Work through the system in a sequence that follows the path of heat:
- Confirm the temperature reading with a reliable method.
- Check coolant level, coolant condition, obvious leaks, and cap condition when the engine is cold.
- Ensure the cooling system has been bled according to the required procedure.
- Inspect thermostat operation, hose temperatures, water-pump drive, and hose collapse.
- Clean and inspect the entire cooling stack for blocked airflow or crushed fins.
- Verify fan operation, shroud condition, electrical controls, or fan-clutch engagement.
- Confirm that the installed radiator matches the exact application and that seals and baffles are present.
- If symptoms persist, test for combustion gases, pressure loss, and other engine-side causes.
Record what happens during the test: ambient temperature, engine speed, load, road speed, coolant level, and when the gauge begins to rise. A few accurate observations are more useful to a technician than a general statement that the vehicle “gets hot sometimes.”
The takeaway: a radiator core is part of a complete heat-management system
A new radiator core is an important repair when the old unit is blocked, leaking, or damaged. But it is not a guarantee against overheating if coolant flow is restricted, air cannot pass through the cooling pack, the fan system is weak, the wrong unit has been fitted, or the engine is introducing excessive heat into the coolant.
For operators, the best response is calm, systematic inspection rather than immediate suspicion of the replacement part. Check the simple causes first, respect hot-coolant safety procedures, and do not keep running an engine that is clearly overheating. The goal is not merely to make the warning light disappear; it is to restore stable cooling performance under the real loads the vehicle or machine faces every day.